How Can We Help?
Work Orders
Work Orders allows tasks to be done as they are requested outside of any formal contractual agreement.
The following functions are available:
| Action | Persona | Description | State |
| Create | Controller/CSM | Create/Raise a Work Order | Open |
| Request Quote | Controller/CSM | Request a quote from a Service Provider or CSM | Quote Requested |
| Add Quote | Service Provider/CSM | Service Provider or CSM to login and provide a quote | SP Quoted |
| Accept / Reject | Controller/CSM | Accept or Reject quotes from Service Providers | Admin Approved |
| Send to Client | Controller/CSM | Send the quote to the Client for approval | Client Approved |
| Create Service Order | Controller/CSM | Assign a Work Order to a Service Provider/CSM | Assigned |
| Close | Controller/CSM | Close the Work Order | Closed |
| Internal Notes | Notes which are visible to Corporate Staff only | ||
| Customer Notes | Notes which are visible to the customer on the Client Portal |
Go to Operations -> WO Tasks -> Work Requests
- Click on “Create”
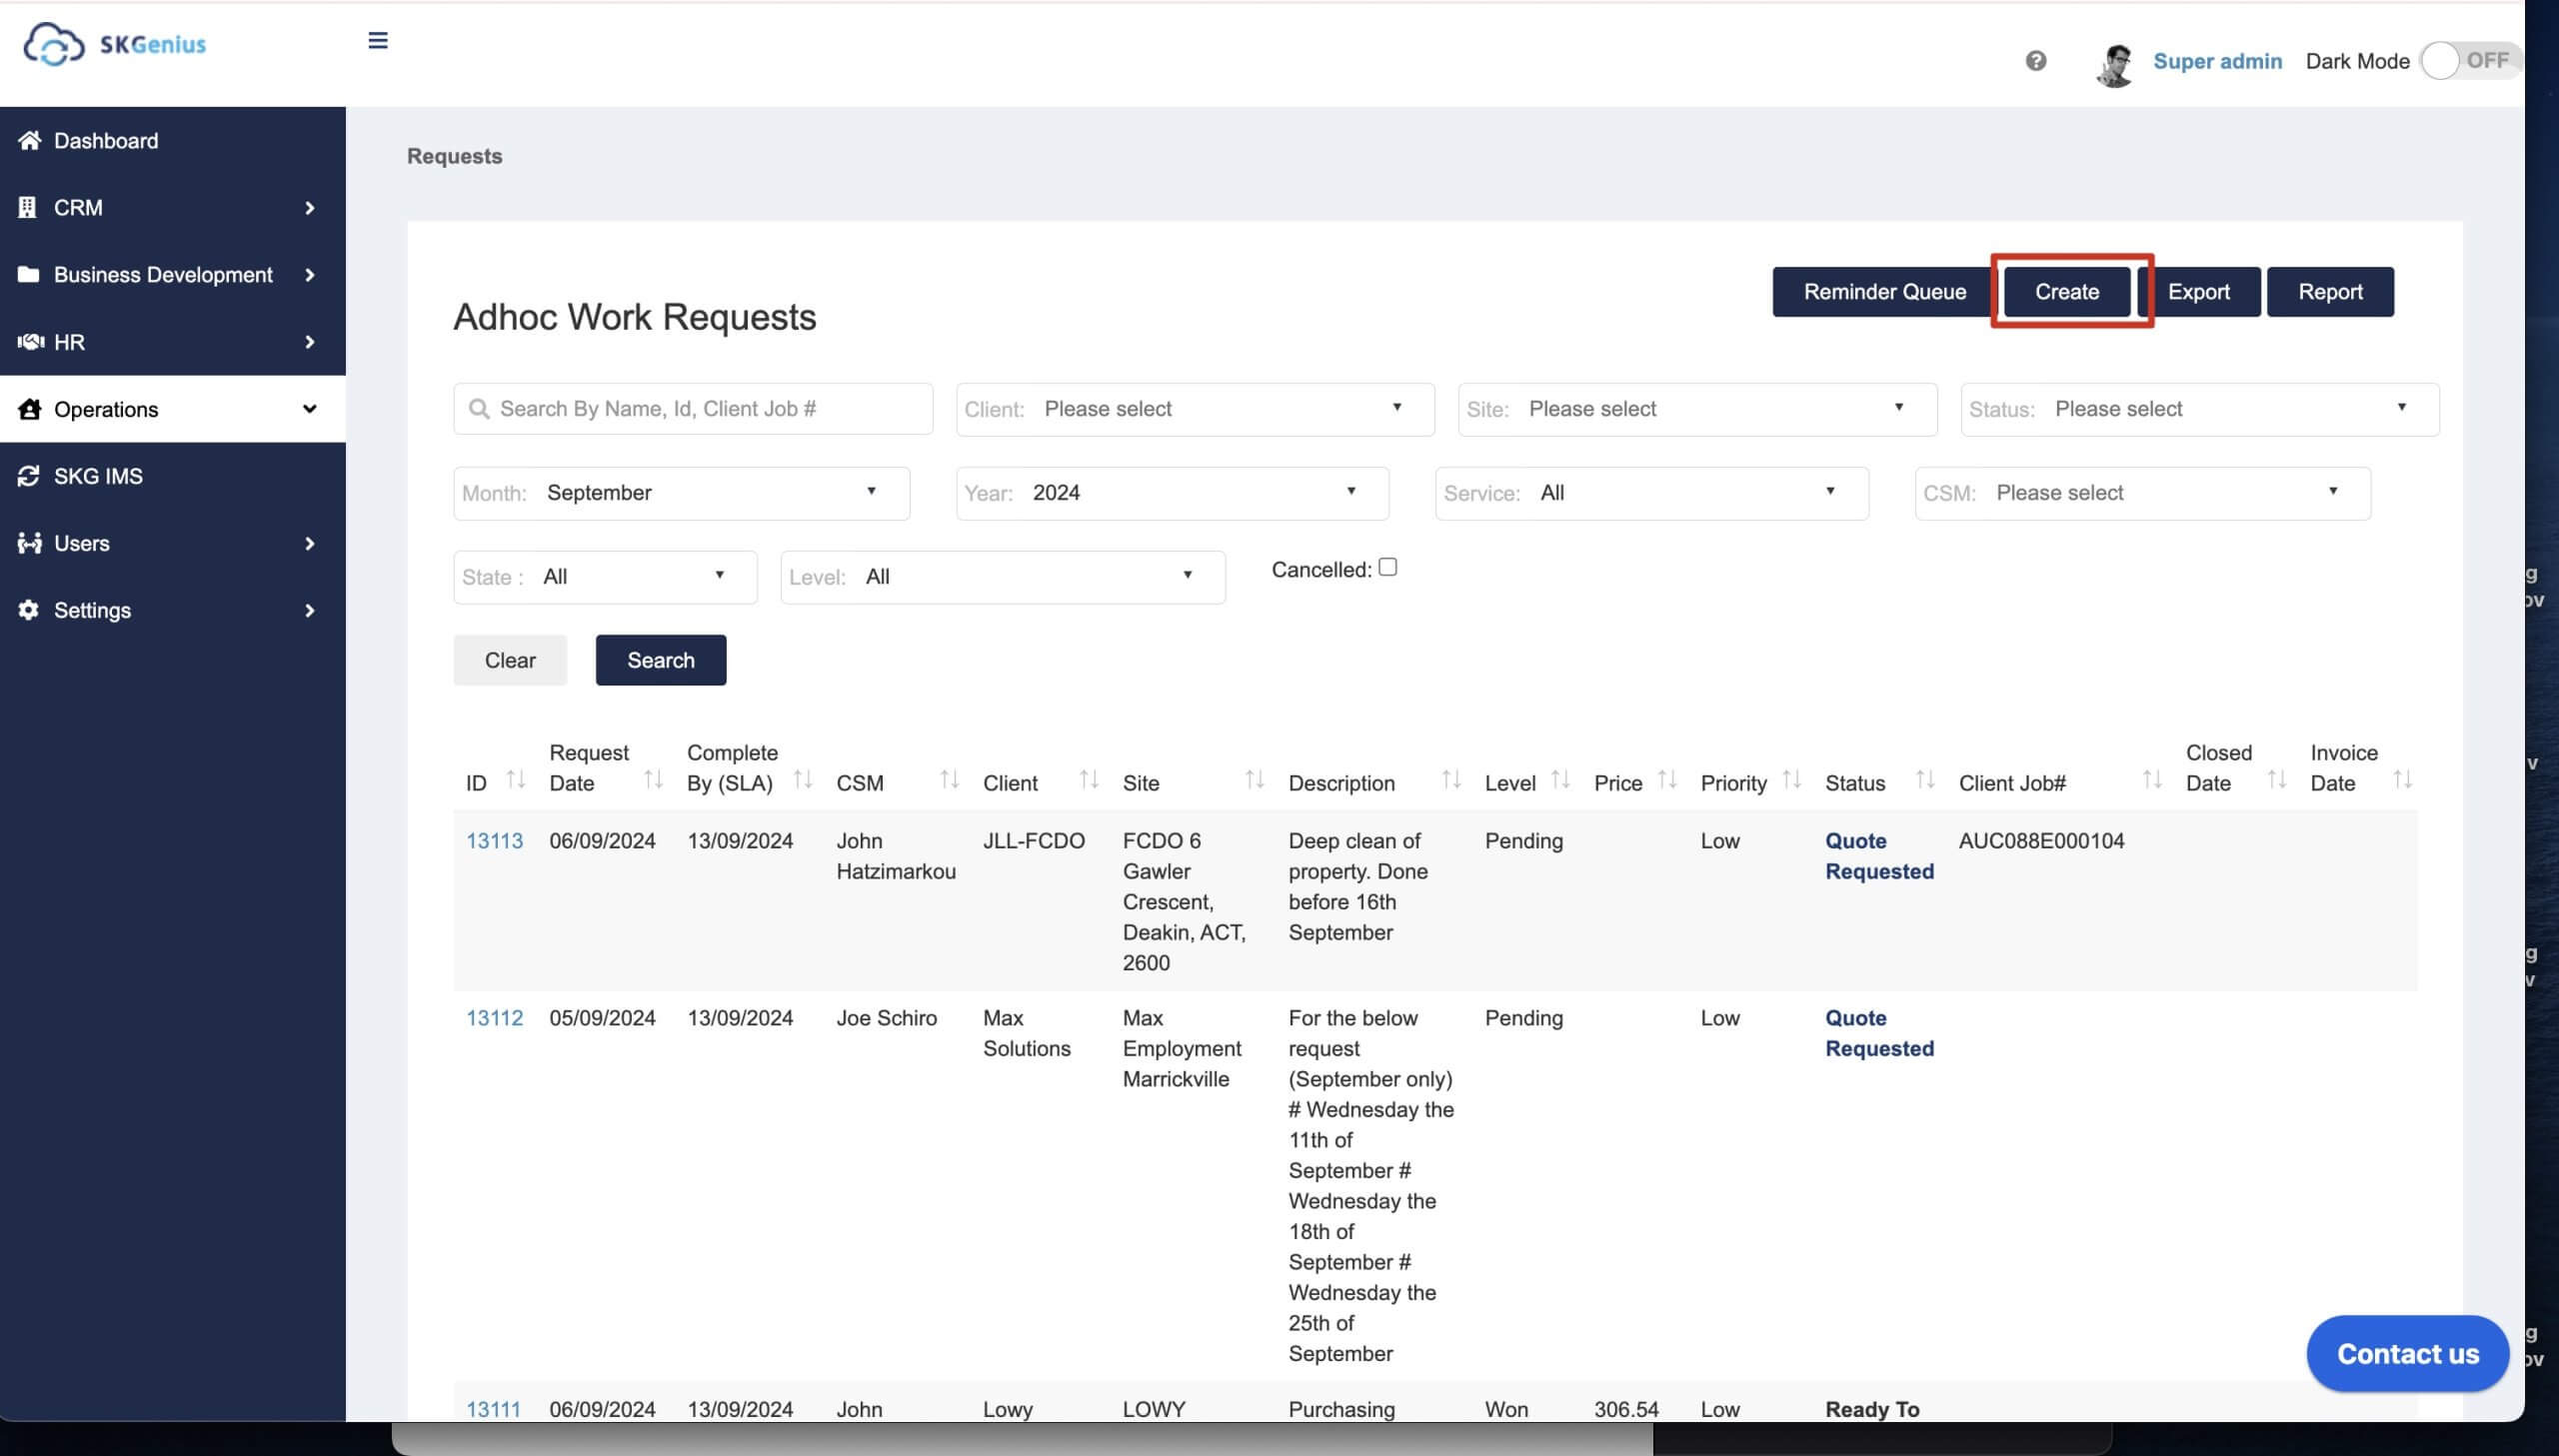
- Fill in the Work Order details
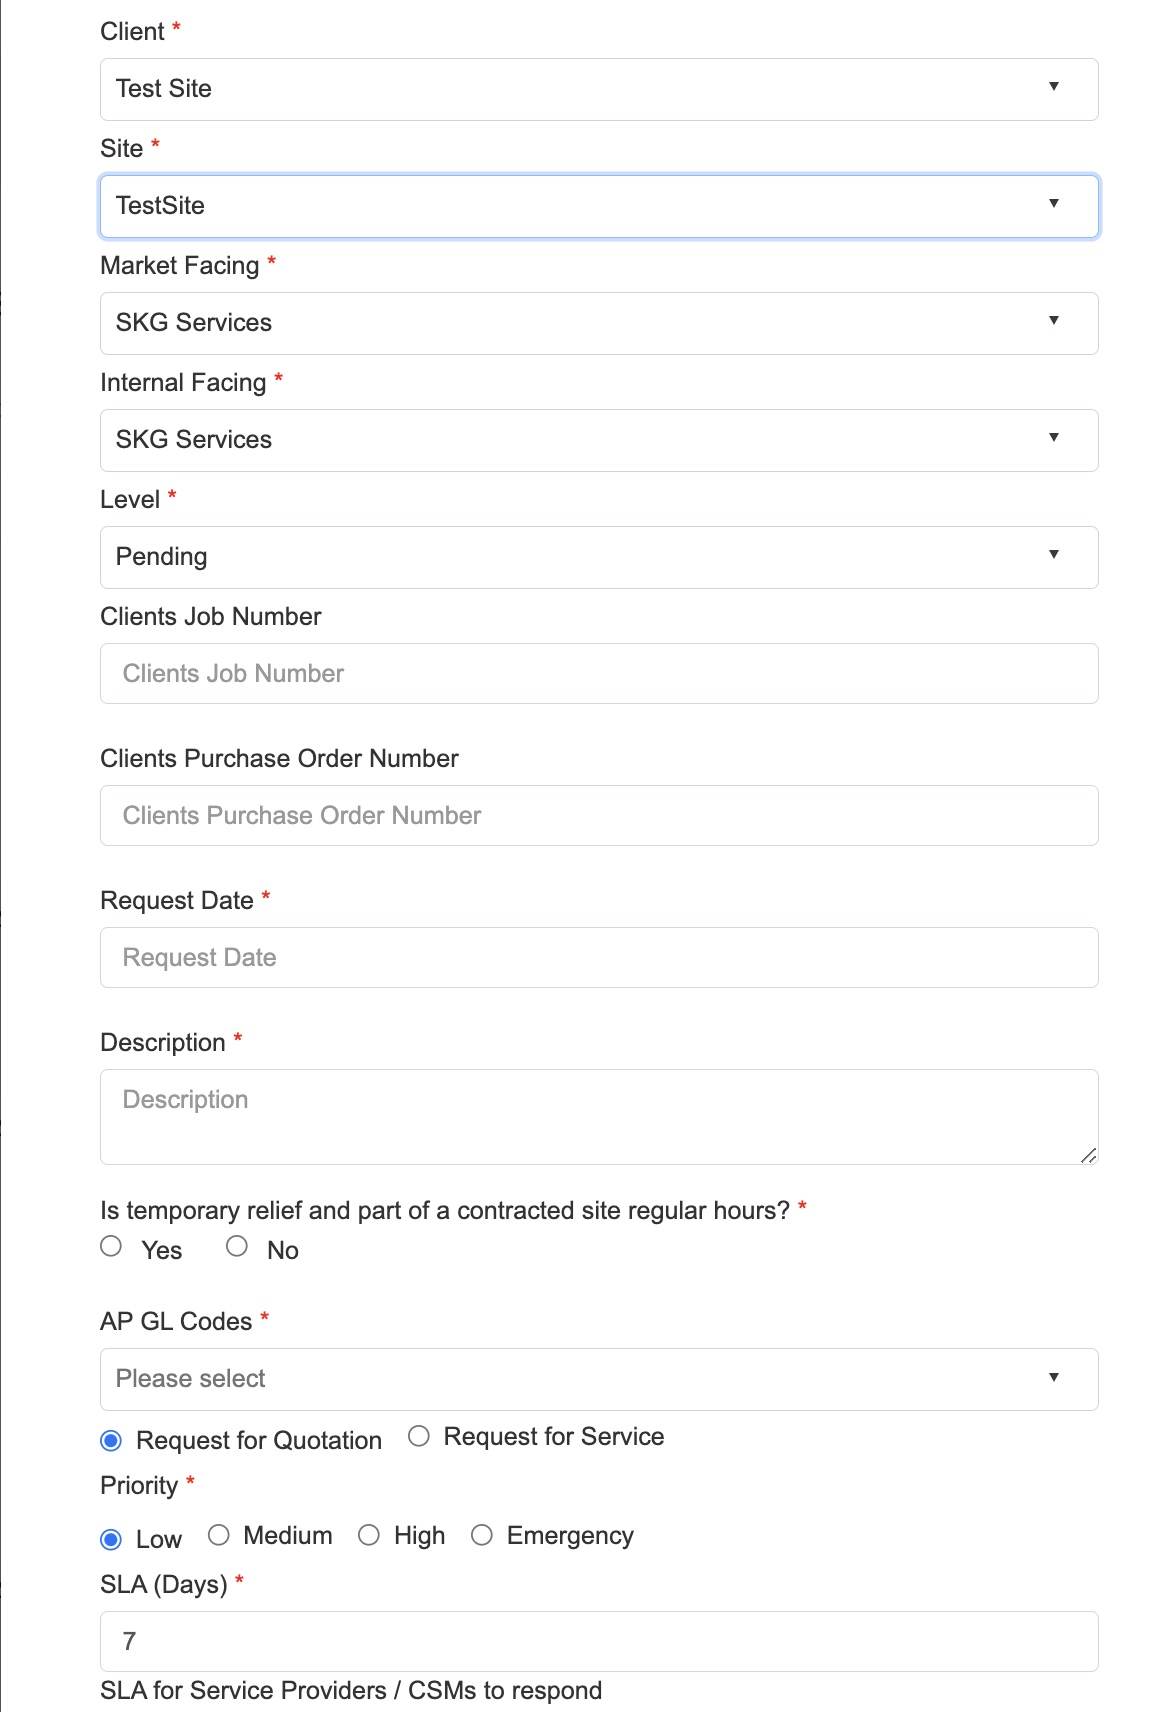
Select Client, Site, Date required and description of the work order.
The Clients Job Number is optional and is the customer’s job number or reference number.
If this work request is a temporary relief to contracted site regular hours, then you’ll need to provide the allocated hours for the job. The AP GL code is default to 51101 – Contract Labour – Regular for temporary relief jobs.
If the work request is not a temporary relief, then you can change the AP GL code based on the real case.
Choose whether the jobs request for quotation or a service, and then the priority.
The SLA determines the response time for the Service Provider or CSM to respond.
- The Work Order will appear on the list
An email will be sent to the person who created the Work Order and the CSM - Click on the view icon to manage the Work Order

- Client on Request Quote and choose a Service Provider to conduct the quote or a CSM to quote on behalf of field staff. Click on the Send button to send the quote.

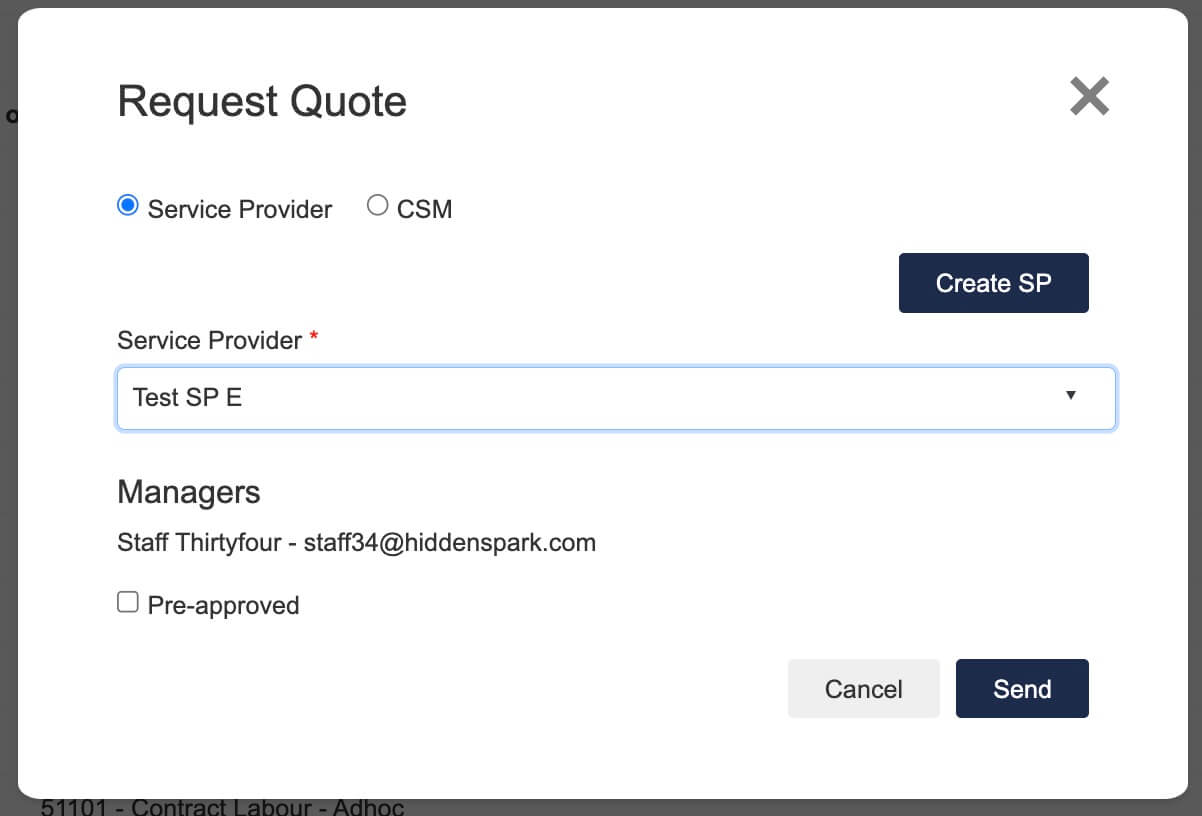
- This process can be repeated to send quotes to multiple providers. The list of Quote requests will appear here –

- This process can be repeated to send quotes to multiple providers. The list of Quote requests will appear here –
- Once the quotes is provided by the service providers, click on Propose or Reject on the Service Provider submissions.
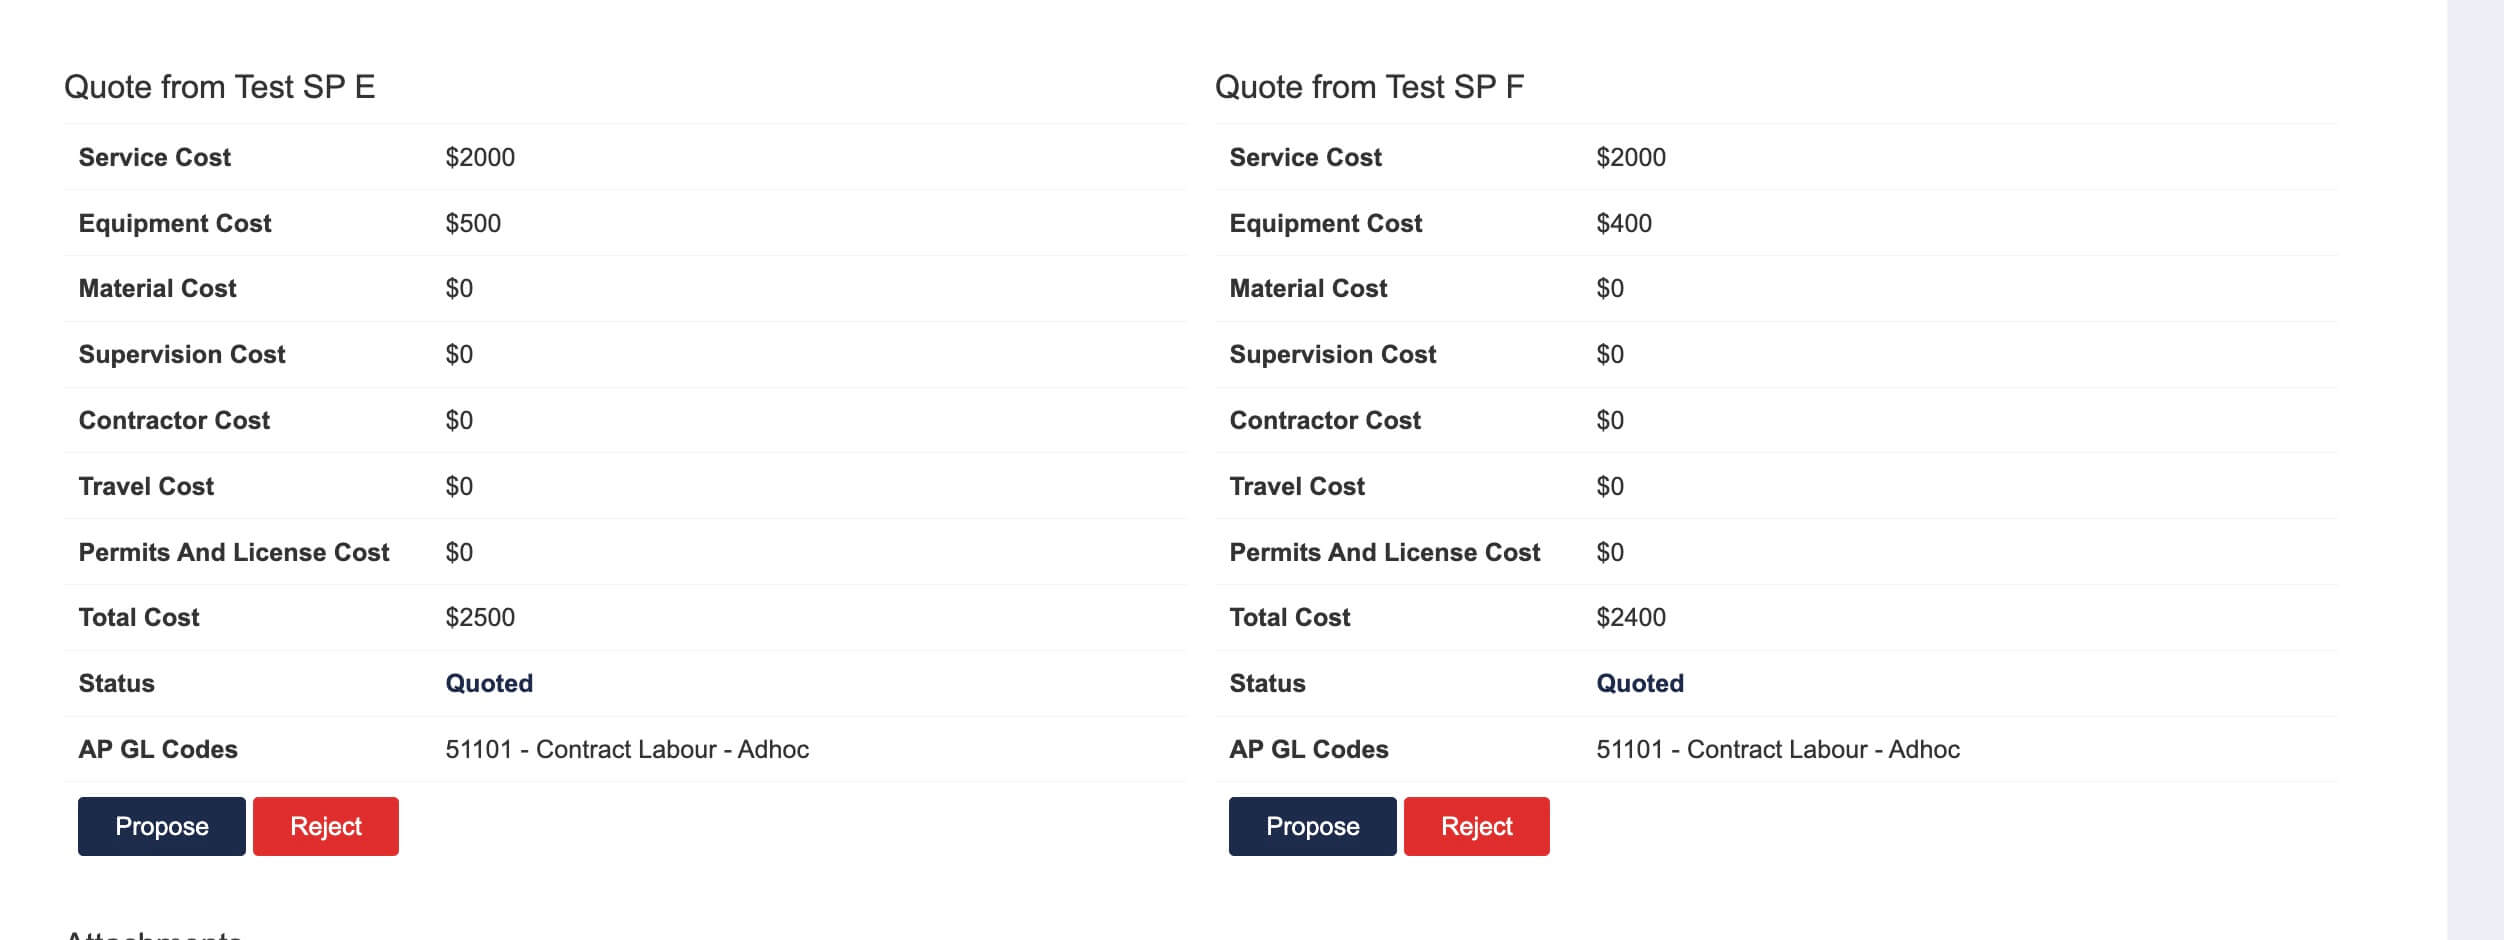
After a quote is proposed, you can still reassign the job if you want. Just click the reassign button to select the new service provider/CSM, then the job will be reassigned to the selected person. But the quote details remains the same, so you’ll need to edit it if there’s difference in quote details.
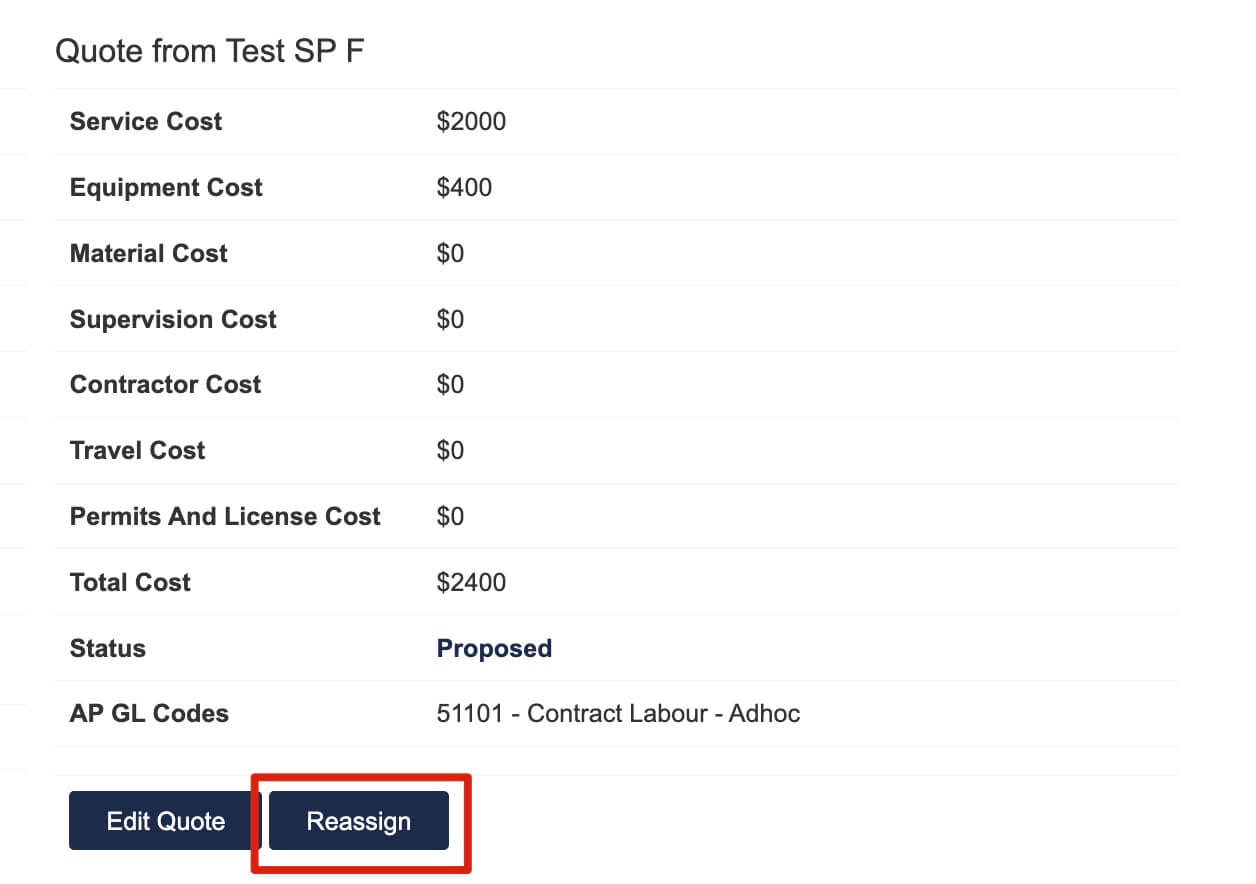
*The job is reassigned from Test SP F to Test SP H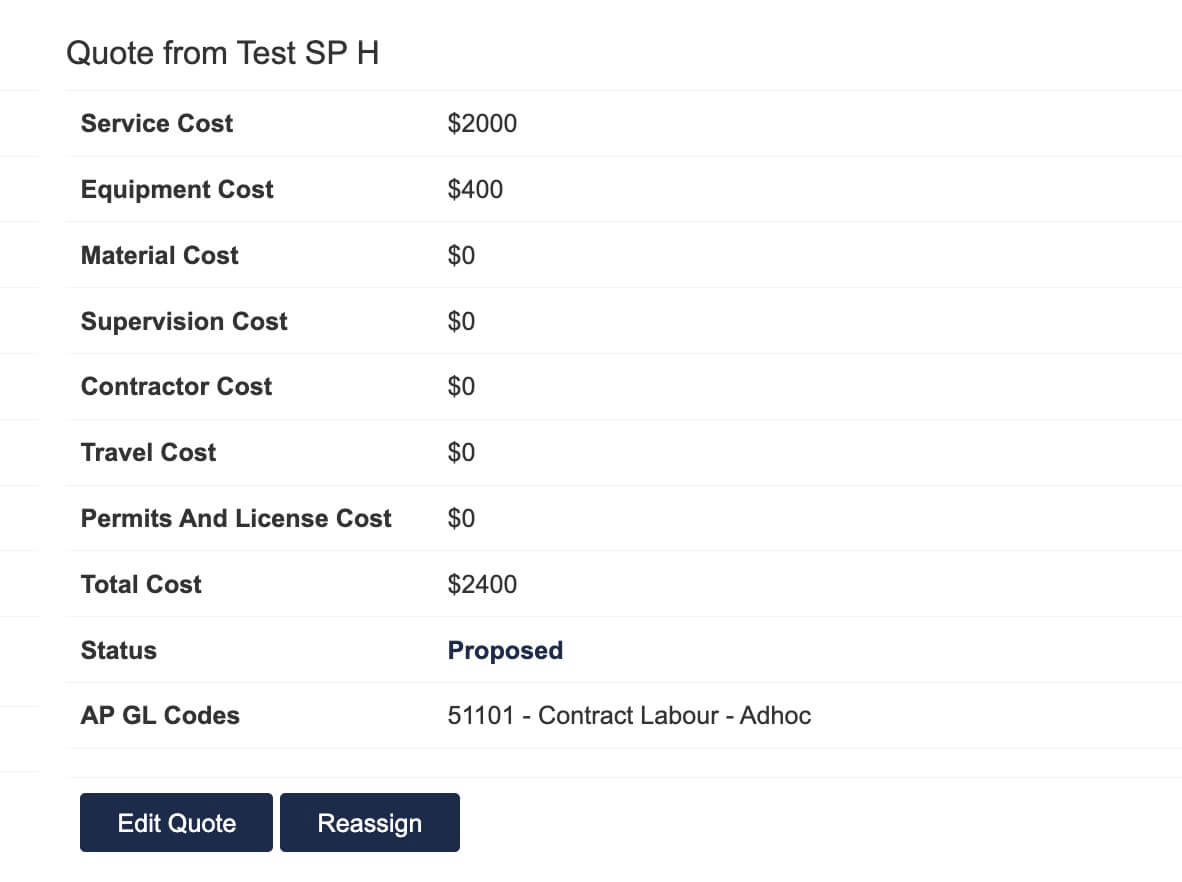
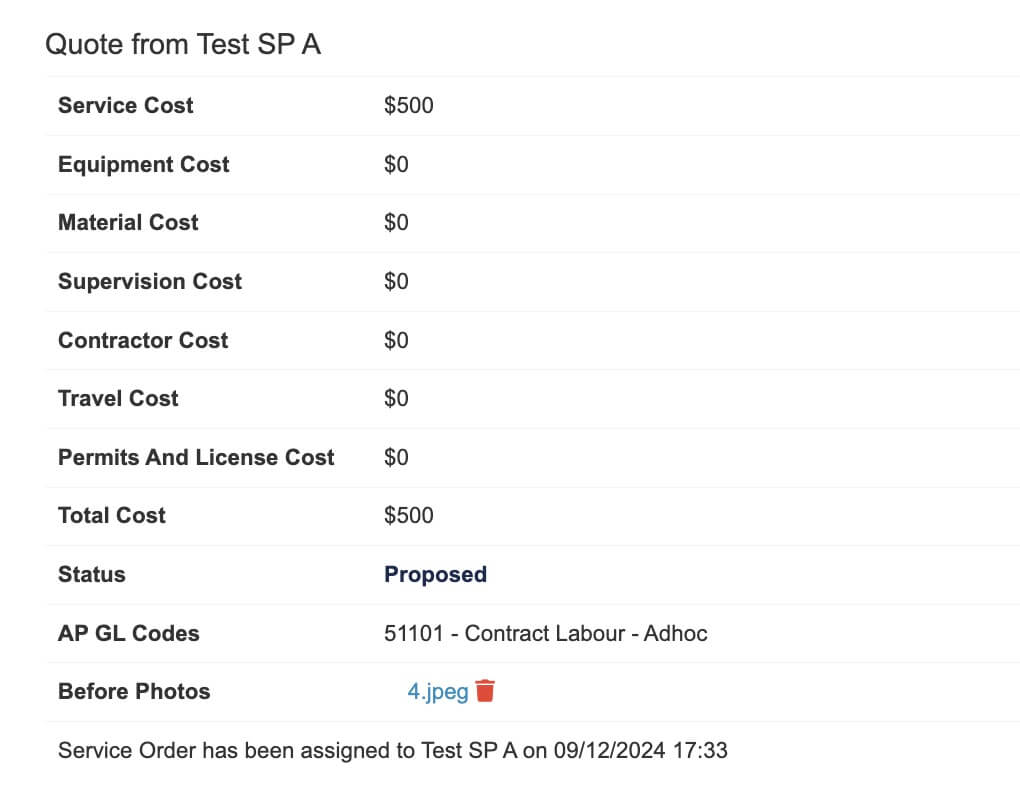
If the SP uploaded “before photo” when providing quote, then you can see the uploaded photos as well.
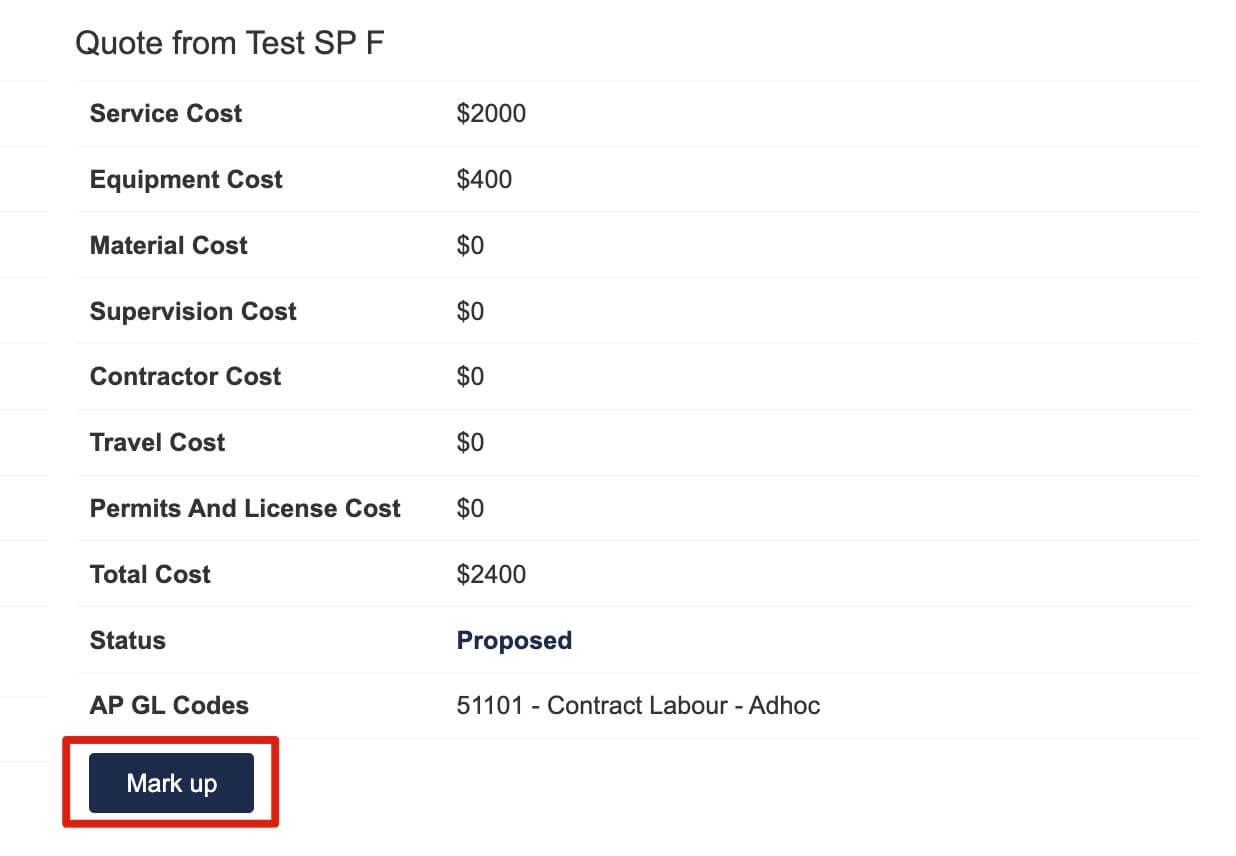
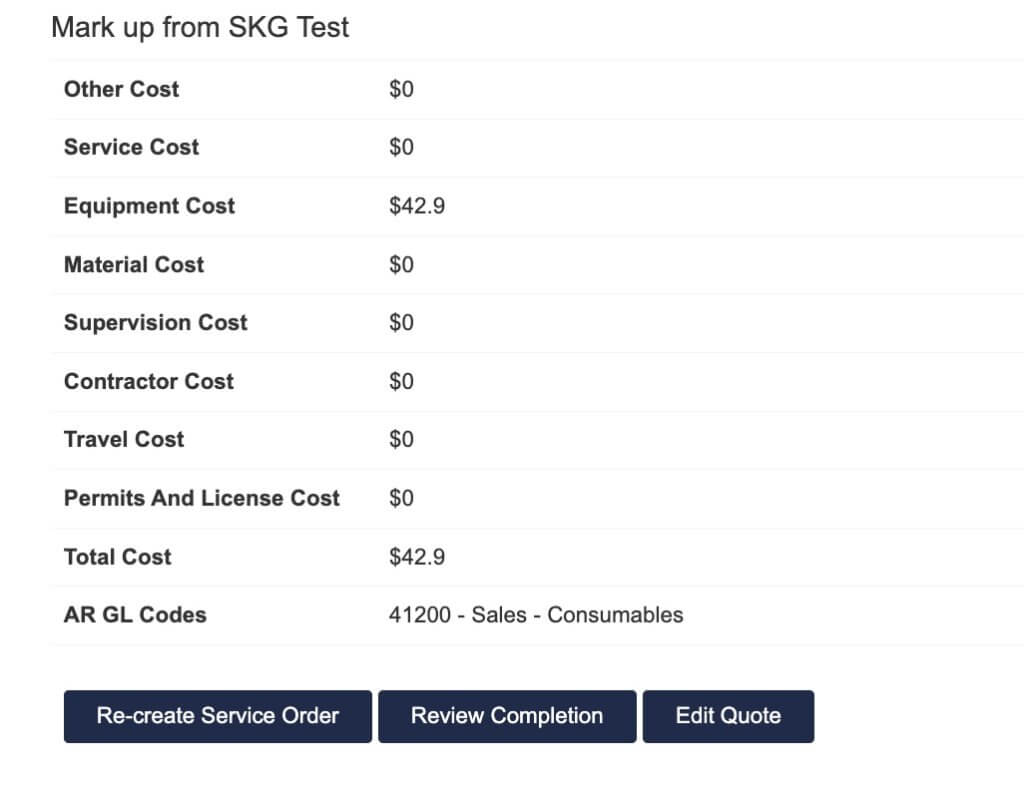
- Click on “Mark Up” to add a mark up price. The AR GL Codes is set to 41100 – Sales – Adhoc by default, you can change it base on your needs.
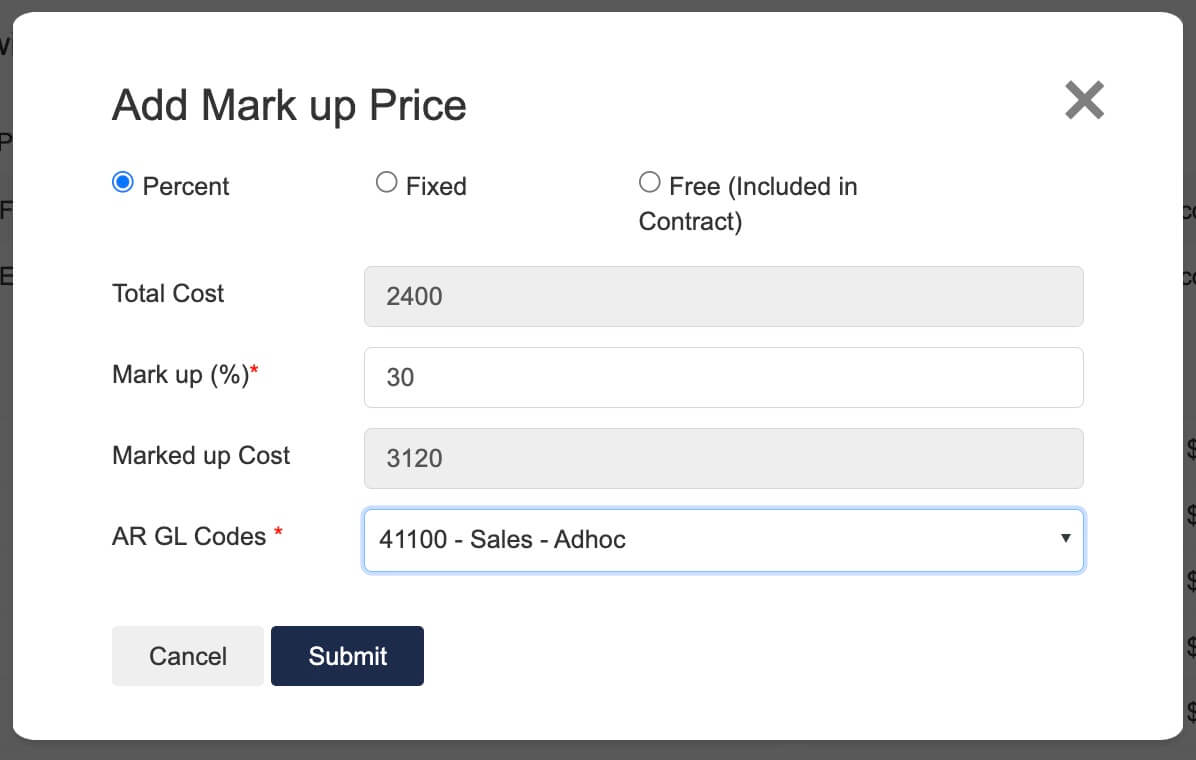
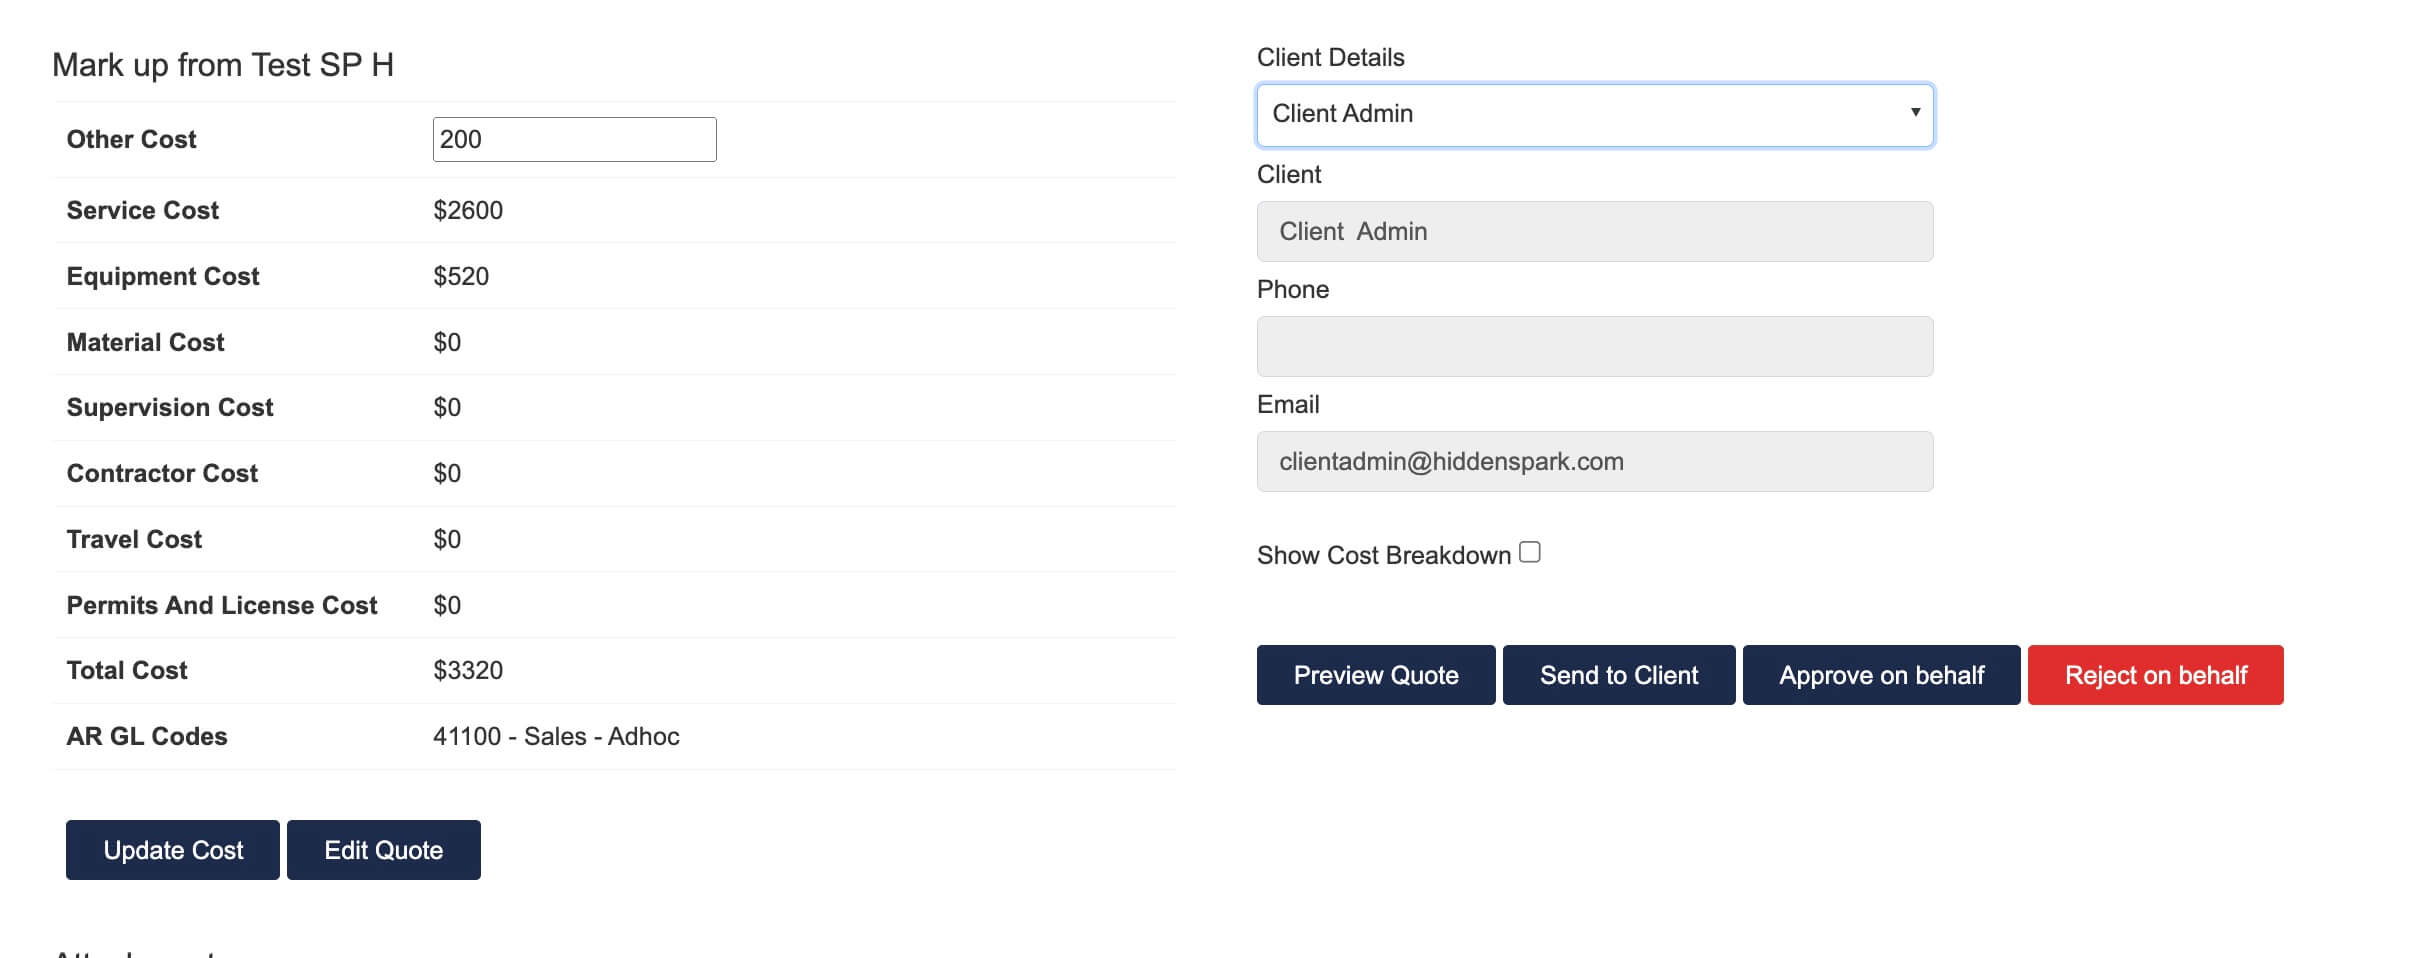
- Add additional cost if there are any. If all cost are confirmed, review quote to view the quote details. Once details are confirmed correct, the quote can be sent to the selected client to review.
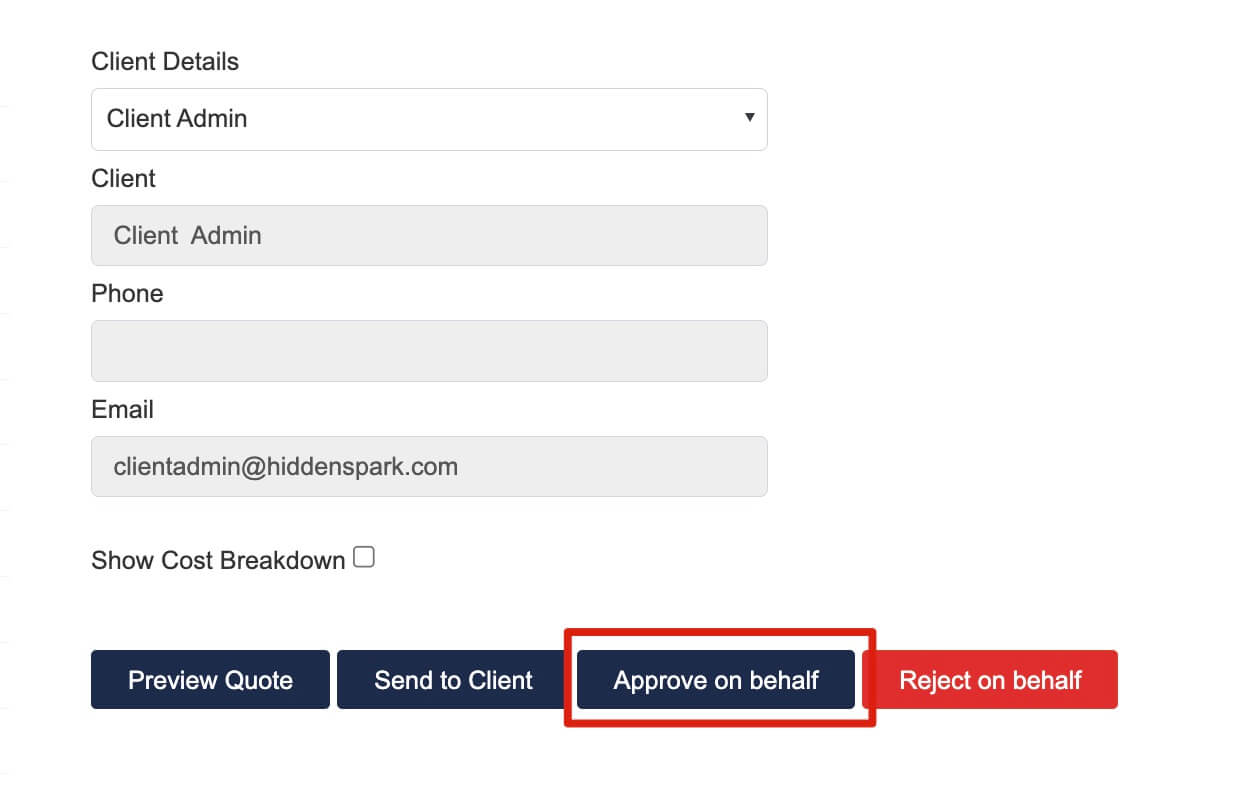
 You can also approve/reject on behalf.But if you approve on behalf, you’ll need to click “Create Service Order” to generate the service order.
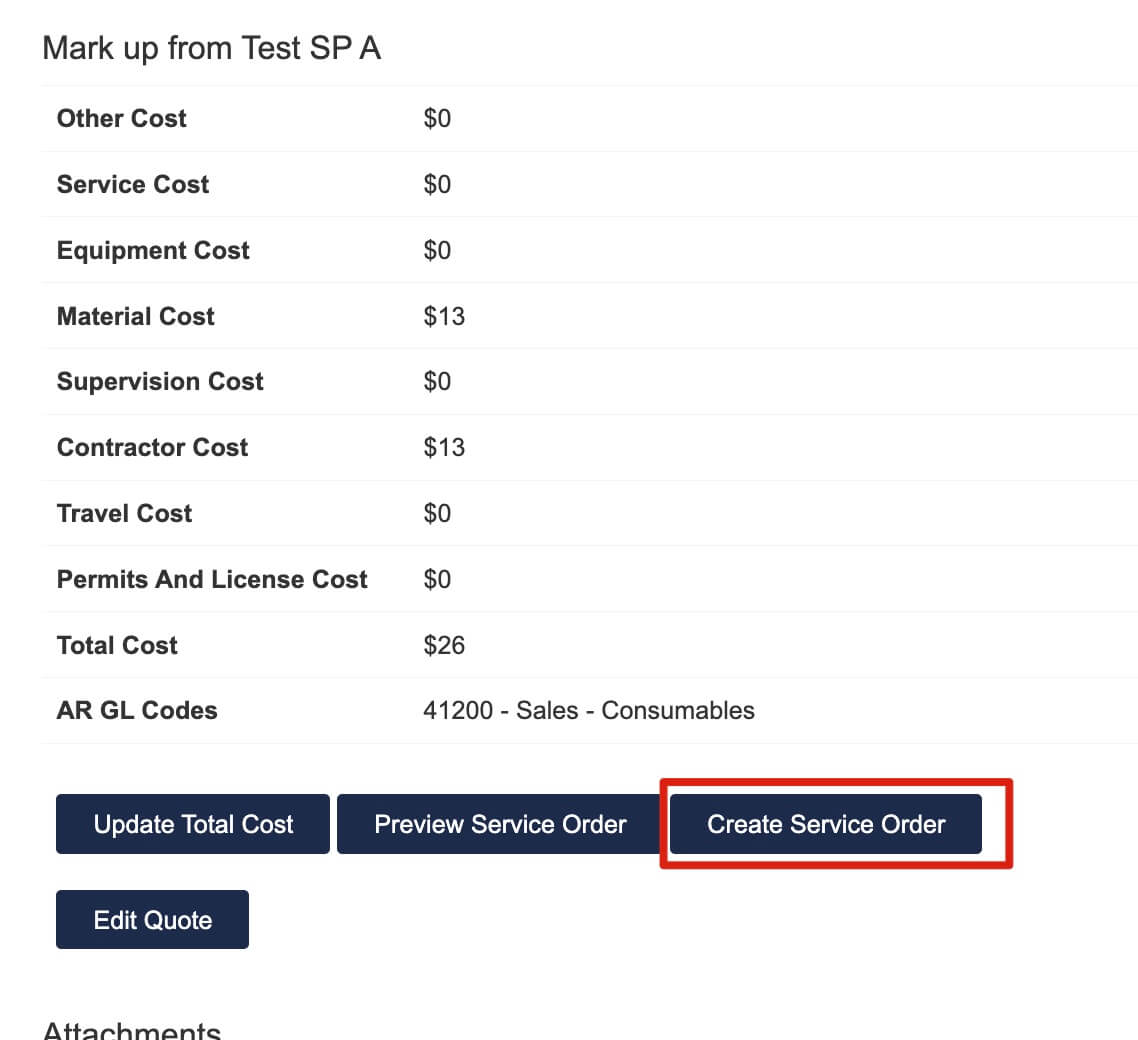
create service order
- If the quote is sent to client to review, once the client approves, the status will be changed to “Client Approved” and a service order will be created automatically.
- If the cost is included in contract, you can add a $0.00 mark up for the WO.
- Choose “Free (Included in contract)” and add reason for approval.
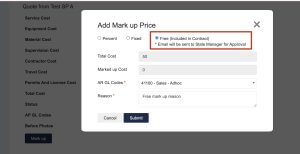
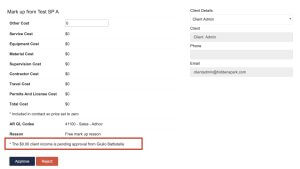
- When the free mark up request is sent, a message will be shown below and an email will be sent to corresponding State Manager (based on Site location) for approval.
The corresponding state mangers and user with super user roles will have the right to approve or reject the mark up.
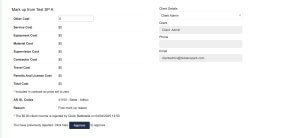
- If the mark up is rejected, the message will be update to show the free mark up was rejected. But The corresponding state mangers and user with super user roles will still have an option to re-approve it.
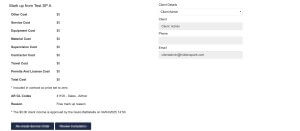
- If the mark up is approved, the message will be updated and a service order will be created automatically.
- Choose “Free (Included in contract)” and add reason for approval.
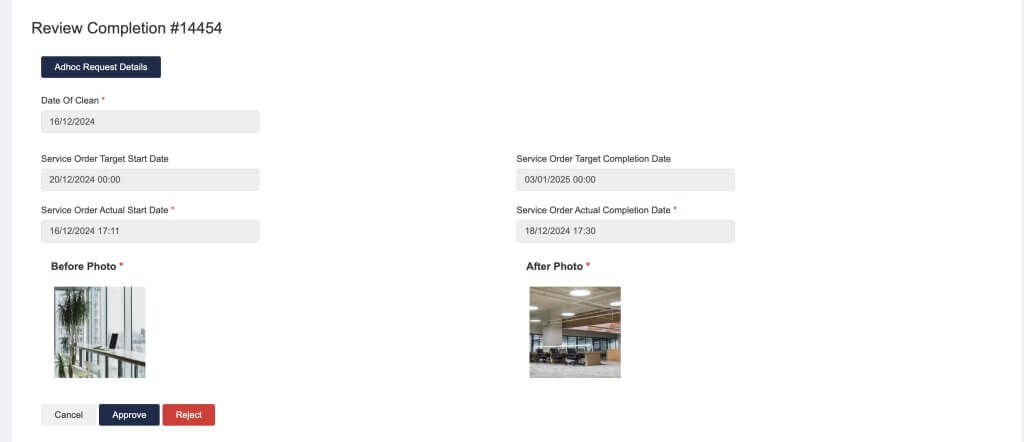
- If there’re changes in the job details, you can click to re-create the service order. Otherwise you can wait for the SP to add job details, you can view them by clicking “Review Completion”
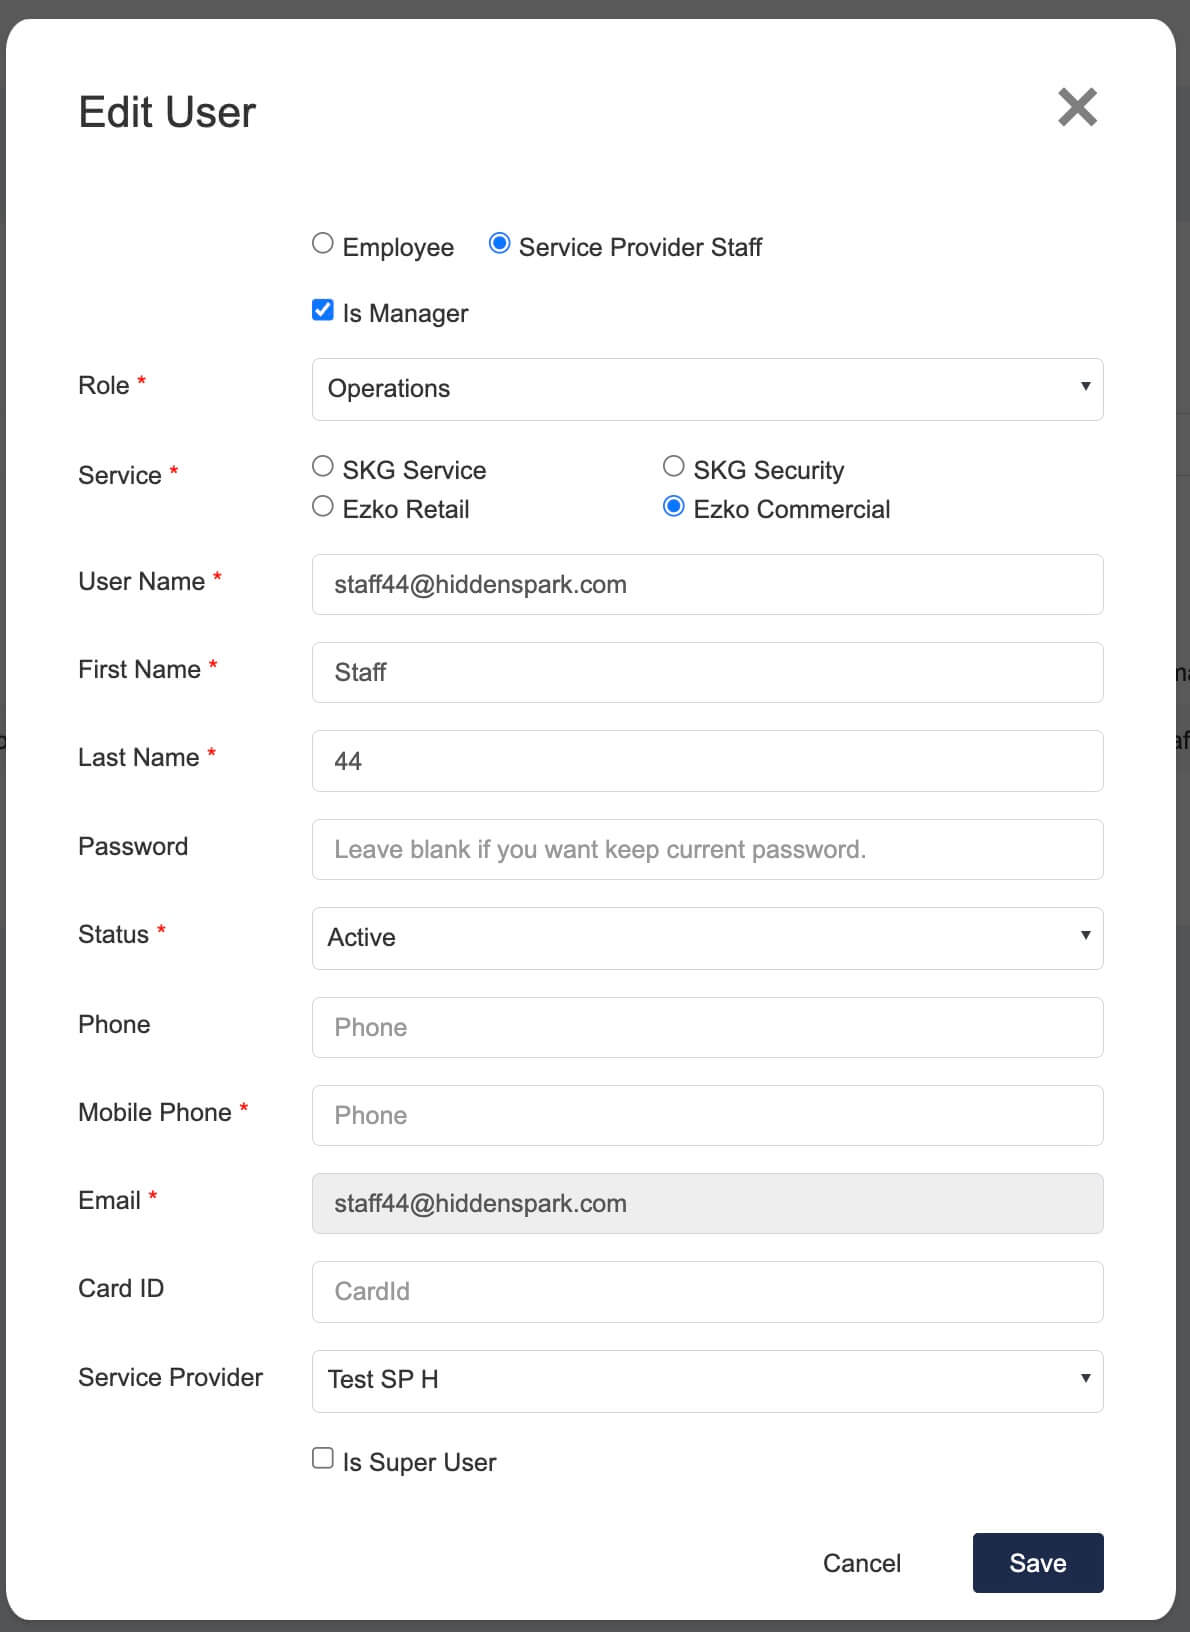
*Please note, only user who is a Service Provider Manager and has been assigned to the selected Service provider company can upload photos as requested.
- After the SP added the job details (Start/Completion date&time and Before &After photos), you can check the job and approve/reject the WO process.
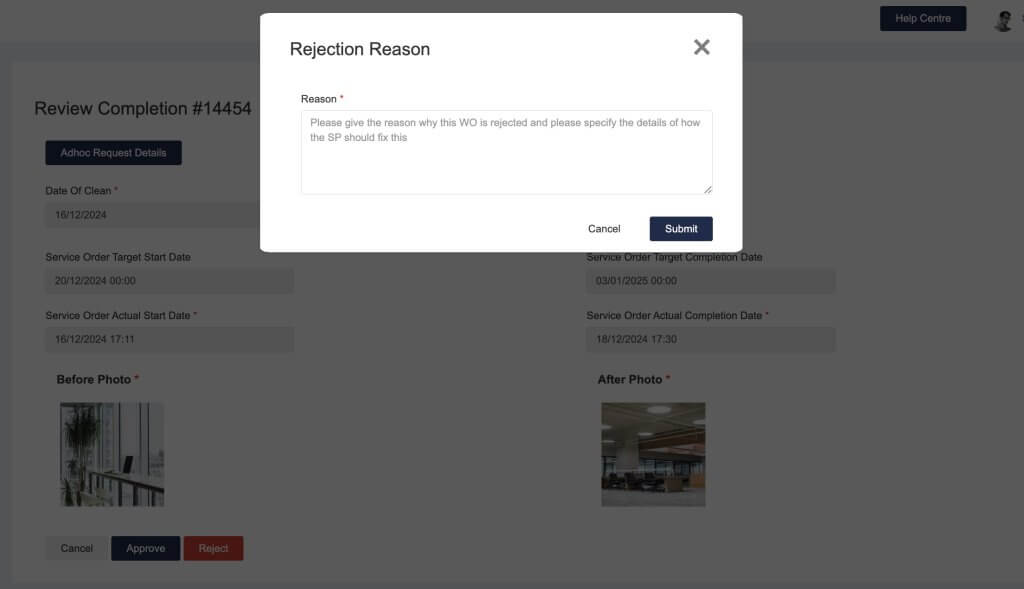
If the job is not qualified, you can click “Reject” and add details for the SP for them to fix the issue again.
- After the work is verified by the csm, you can click “ready to invoice”.
 The status will then be change to “Ready to invoice”.
- Close the Work Order when complete.

