How Can We Help?
Assets Management
The Assets module allows you to track and manage assets including test and tag details and repair history.
- Go to CRM -> Assets
- Click on “Create”

- Fill in mandatory details such as Client, Site, Assets Type, etc. and fill in the optional details such as Item number, Asset number, etc.
If the Asset is maintained or owned by SP, you can also state the details here.
When all the details were added, click “Save”.

– If the asset needs to be tested and tagged, when creating the asset, you can enter the test and tag done date and frequency. The Test and Tag Due date will then be automatically calculated based on Test and Tag Done Date plus the Frequency.
For example, if the Test and Tag Done Date is 31/07/2024 and the Frequency is 3 months, then the Test and Tag Due Date will be 31/10/2024.
Note: The Test and Tag Expiry Date was used in the old system. This will be replaced by the Test and Tag Due Date soon.
– For Vehicles, there are some extra details will be needed, which are VIN (Vehicle Identification Numbers), Fuel Card ID and monthly budget.
 – For the Asset Sub-type: Smart Phone, Tablet, Phone Sim Card Only and Network Equipment (Mobile), SIM card related information are required to be added. If there’s a SIM card in this device, you’ll need to provide the Mobile Number and SIM Card Number.


- After the asset details were saved, the asset will appear in the list

– If the Asset doesn’t require Test and Tag, then the Test and Tag Expiry date and Due Date will show N/A in the asset table.

- Click on the view icon to view asset details or click the edit icon to edit asset details

- If you select to view details, then in the details page you can add extra information to the asset.
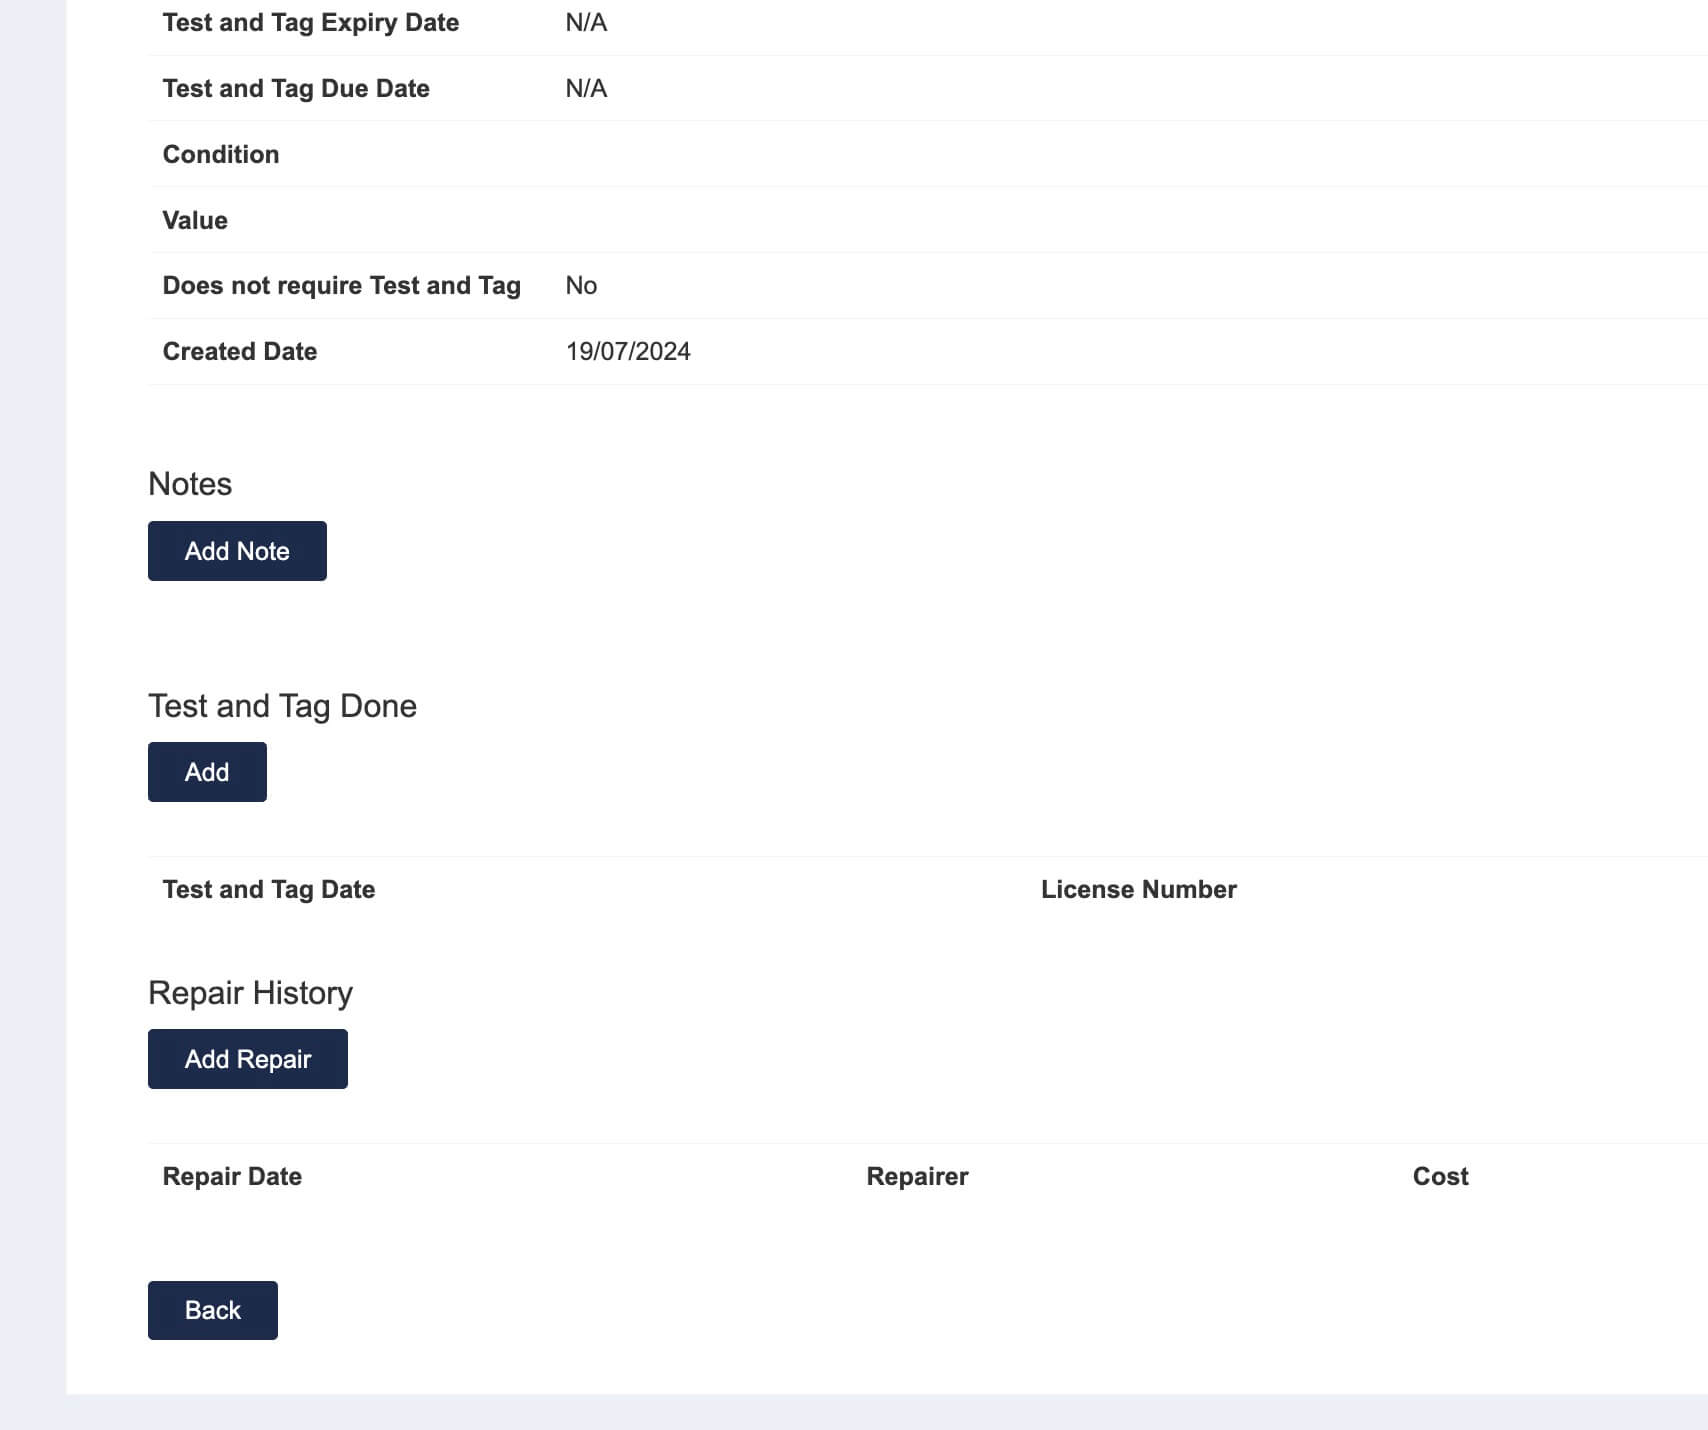
- Click “Add Note” to add notes to the asset

- Add notes to the the asset

- Click on “Add” under “Test and Tag Date”

- Add Test and Tag Done date, license Number and description to the asset

- Click on “Add Repair” to add repair history to the asset
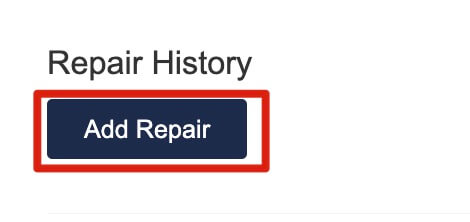
- Add repair date, cost and description to the the asset

- To ensure assets records are not deleted accidentally, CSM/Site manager needs to submit an Asset delete request for approval.

And then add a comment for the secondary approval to review.

- The help desk will be notified by email, and they can also filter the delete request awaiting for approval.


- Then the secondary approver can approve/reject in the asset details page.

Click “Approve Delete Request” to approve/reject the request. If the Request is approved, then the asset will be deleted straight away. If the request is rejected, then the rejection details will be saved in the action log, and the CSM will be notified by email. The CSM can recreate the delete request if needed.
